A late afternoon sun at Mugdock

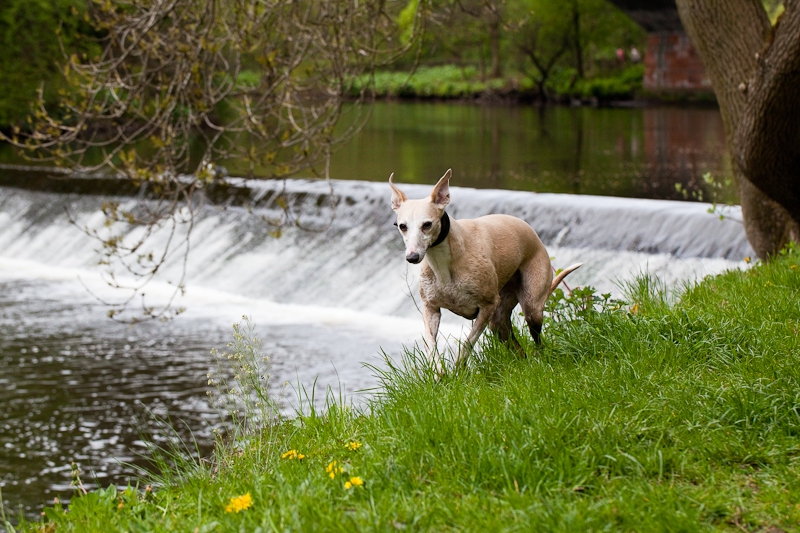
We headed up to Mugdock for our ‘usual walk’ on a Sunday afternoon. It was the first weekend without rain for ages and, surprisingly, even the sun had decided to come out. The low winter sun, combined with the blue sky and the odd dotted cloud looked very promising. From the South Lodge Car Park, we wandered up to Mugdock Castle with Lola roaming through the fields chasing shadows. At the castle, the low sun provided a wonderful red glow on the tree lined driveway across the crest of the hill and on the fabulous dead wood on the side of the driveway. A good opportunity for some shots, although the chilly wind drove us on fairly quickly.

We continued our walk downhill, along the side of the castle and across the swamp. Of course Lola decided to jump of the wooded walkway to run through the black mud. Even a splash in the stream at the other end of the swamp couldn’t clean her up. Sadly, we were just too late for any good shots down there, as the sun had already disappeared behind the hill and trees, leaving the swamp in a bitter cold darkness.

We were all starting to feel the cold, particularly when exposed in the wind, so we decided to give our usual wander across the high moor and past the quarry a miss and walked back along the more sheltered East shore of Mugdock Loch instead. And a good choice it was, as the views across the loch to the castle were absolutely stunning as you can see.

The sun disapeared very quickly, so it was time to head back home to a hot shower for a muddy Lola and a hot cup of tea for us.

Remove Those Cables

This example is an illustration of a scenario where it is not possible to move around on location to adjust composition and capture the image you are after. Normally I would have moved closer and used a shorter focal length to capture the image below without the power cables. Unfortunately, I was standing on the edge of a sheer 50m cliff of a quarry so, frustratingly, I could not move further forward to achieve an angle with the power cables out of the way.

As I really liked the original image with the exception of the obtrusive power cables, I decided to remove these cables in Photoshop using the clone tool. Due to the blur and bokeh of the distant hills, the cloning proved fairly straightforward, although I had to ensure to match patterns in the hillside and avoid duplicating obvious elements, by careful sampling and regular resampling of the area to clone from.

I am glad I decided to remove the power cables, as I have since sold enlargements of this image. I am absolutely sure that I would not have sold enlargements of the original.

Tilt & Shift Correction

We have all taken images when we are restricted in the position of our vantage point, so we have to tilt the camera upwards and shift the camera sideways to get the image in the frame. The result of tilting and shifting the camera is that the verticals and horizontals of the image are converging.

The original below shows the converging verticals and horizontals of an image of a mural in Iglesia de Nuestra Señora de la Asunciónin in San Sebastian de La Gomera. Due to the location of the mural, I did not have the option to get in the right position to avoid even part of the effect.

The best way to correct for converging verticals is to use a camera or lens that enables tilt and shift movement of the lens, such as the Canon TSE lenses. Unfortunately, I do not have one of these specialist, extremely expensive tilt and shift lenses, so this option is not available to me.

An easy alternative is to correct tilt and shift in Adobe Photoshop using the ‘skew’ functionality. The process is very simple: select the whole image, select the skew tool found in the edit menu, drag appropriate corners to skew (or more correctly un-skew) the image, and crop or trim the image appropriately.

This is simple and very effective, as the final result below shows, but the quality of the resulting image cannot compete with that achieved using a tilt and shift lens. To achieve the best result with this edit, skew the corners in rather than skew the corners out, as the latter would result in image degradation due to interpolation.

Perspective correction

We have all taken images of buildings when we have to tilt the camera upwards to get the whole building in the frame. The result of tilting the camera upwards is that the perspective of the building is skewed with the verticals converging. The original below shows the converging verticals of an image of a ruined building in Agulo on La Gomera. Normally, I would take quite a few steps backwards to to minimise the converging of verticals, but as this house was in a narrow cobbled lane, I did not have this option.
The best way to correct for converging verticals is to use a camera or lens that enables tilt and shift movement of the lens, such as the Canon TSE lenses. Unfortunately, I do not have one of these specialist, extremely expensive tilt and shift lenses, so this option is not available to me.

An easy alternative is to correct the converging verticals in Adobe Photoshop using the ‘perspective’ functionality. The process is very simple: select the whole image, select the perspective tool found in the edit menu, drag a corner to skew (or more correctly un-skew) the image, and crop or trim the image appropriately, as illustrated below (click on a thumbnail to enlarge a screen grab). If there is one bit of functionality I would like Adobe to include in the next version of Lightroom then, without a shadow of a doubt, this would be perspective correction.

This is simple and very effective, but the quality of the resulting image cannot compete with that achieved using a tilt and shift lens. To achieve the best result with this edit, skew the bottom in rather than skew the top out, as the latter would result in image degradation due to interpolation.

The original and final image below show how this quick and simple edit can give you the result you desire.

Away with the crane

The big crane spoiling this spectecular sunset over San Sebastian de La Gomera has been an eyesore for years and can be seen in, unfortunately, too many of my images of the town, including the virtual reality taken from the terrace at Casa Cathaysa. Looking at the image below, you may think that the crane is not that bad, but trust me, on a large screen or on an enlargement print, it is very obtrusive.

This image is created from eight seperate 21mp images, that I stitched together into a panorama using Photoshop. The panorama measures a massive 11,200 by 5,300 pixels and would have required a ‘not yet existing’ 100mp digital camera to be taken in one single image, taking into account the need to crop the normal image format to a letterbox format. Without compromising the quality of the print, by printing at 300dpi, it can be enlarged up to 95 x 45 cm (or 37.3″ x 17.6″). Therefore, this image is a prime candidate for an enlargement print if it was not for that bloody crane.

So this image needs a little bit of Photoshop magic to get rid of that crane.

The two images above show a detailed closeup of the houses on the hillside with the crane partly obscuring them, and after removing the crane using the clone stamp tool in Photoshop. Due to the detail in the houses on the hillside, removing the crane was a slow and laborious task that took some time. But, as you can see from the detail above and the final image below, it was well worth it.

Colourful Corsica

Camus nan Gael

A day trip to explore history at Camus nan Gael while staying at Kylesbeg in October 2002.

Camus nan Gael

The graveyard

The standing stone

The burial chamber

On the beach

Camus nan Gael Sunset

Sunset from the view point at Camus nan Gael taken when driving back from a day trip to the Ardnamurchan Lighthouse while staying at Kylesbeg in October 2002.

Black Castle of the Minstrels

Exploring what’s left of the Black castle of the Minstrels at Kilchoan when on a day trip to the Ardnamurchan Lighthouse while staying at Kylesbeg in October 2002.